Terminal Management
Look up terminal information, manage device configurations, register new terminals, and push software updates across your merchant portfolio.
Overview
The Terminals page provides a centralized lookup tool for finding and managing payment terminals across your entire merchant portfolio. Whether you need to check a terminal’s status, view its transactions, or push a configuration update, this is where you start.
Device Lifecycle States
Every terminal on the Surfboard platform moves through a defined set of lifecycle states. Understanding these states is essential for troubleshooting and merchant support. Click the Devices tab in the left sidebar to access your terminals.
| State | Meaning | Who acts next |
|---|---|---|
| Your Stock | The device is in your own inventory, ready to be assigned to a merchant. | Partner — activate the terminal to a merchant. |
| Activated | The terminal has been activated and linked to a specific merchant. | Merchant or Partner — register the device. |
| Registered | The device is fully registered, live, and operational on the merchant’s account. | Merchant — begin taking payments. |
A terminal must be activated to a merchant before it can be registered, and it must be registered before it can take payments.
Activating a Terminal
Activating links a terminal from your stock to a specific merchant, moving it to the Activated state. There are two ways to do it.
Method A — From the merchant
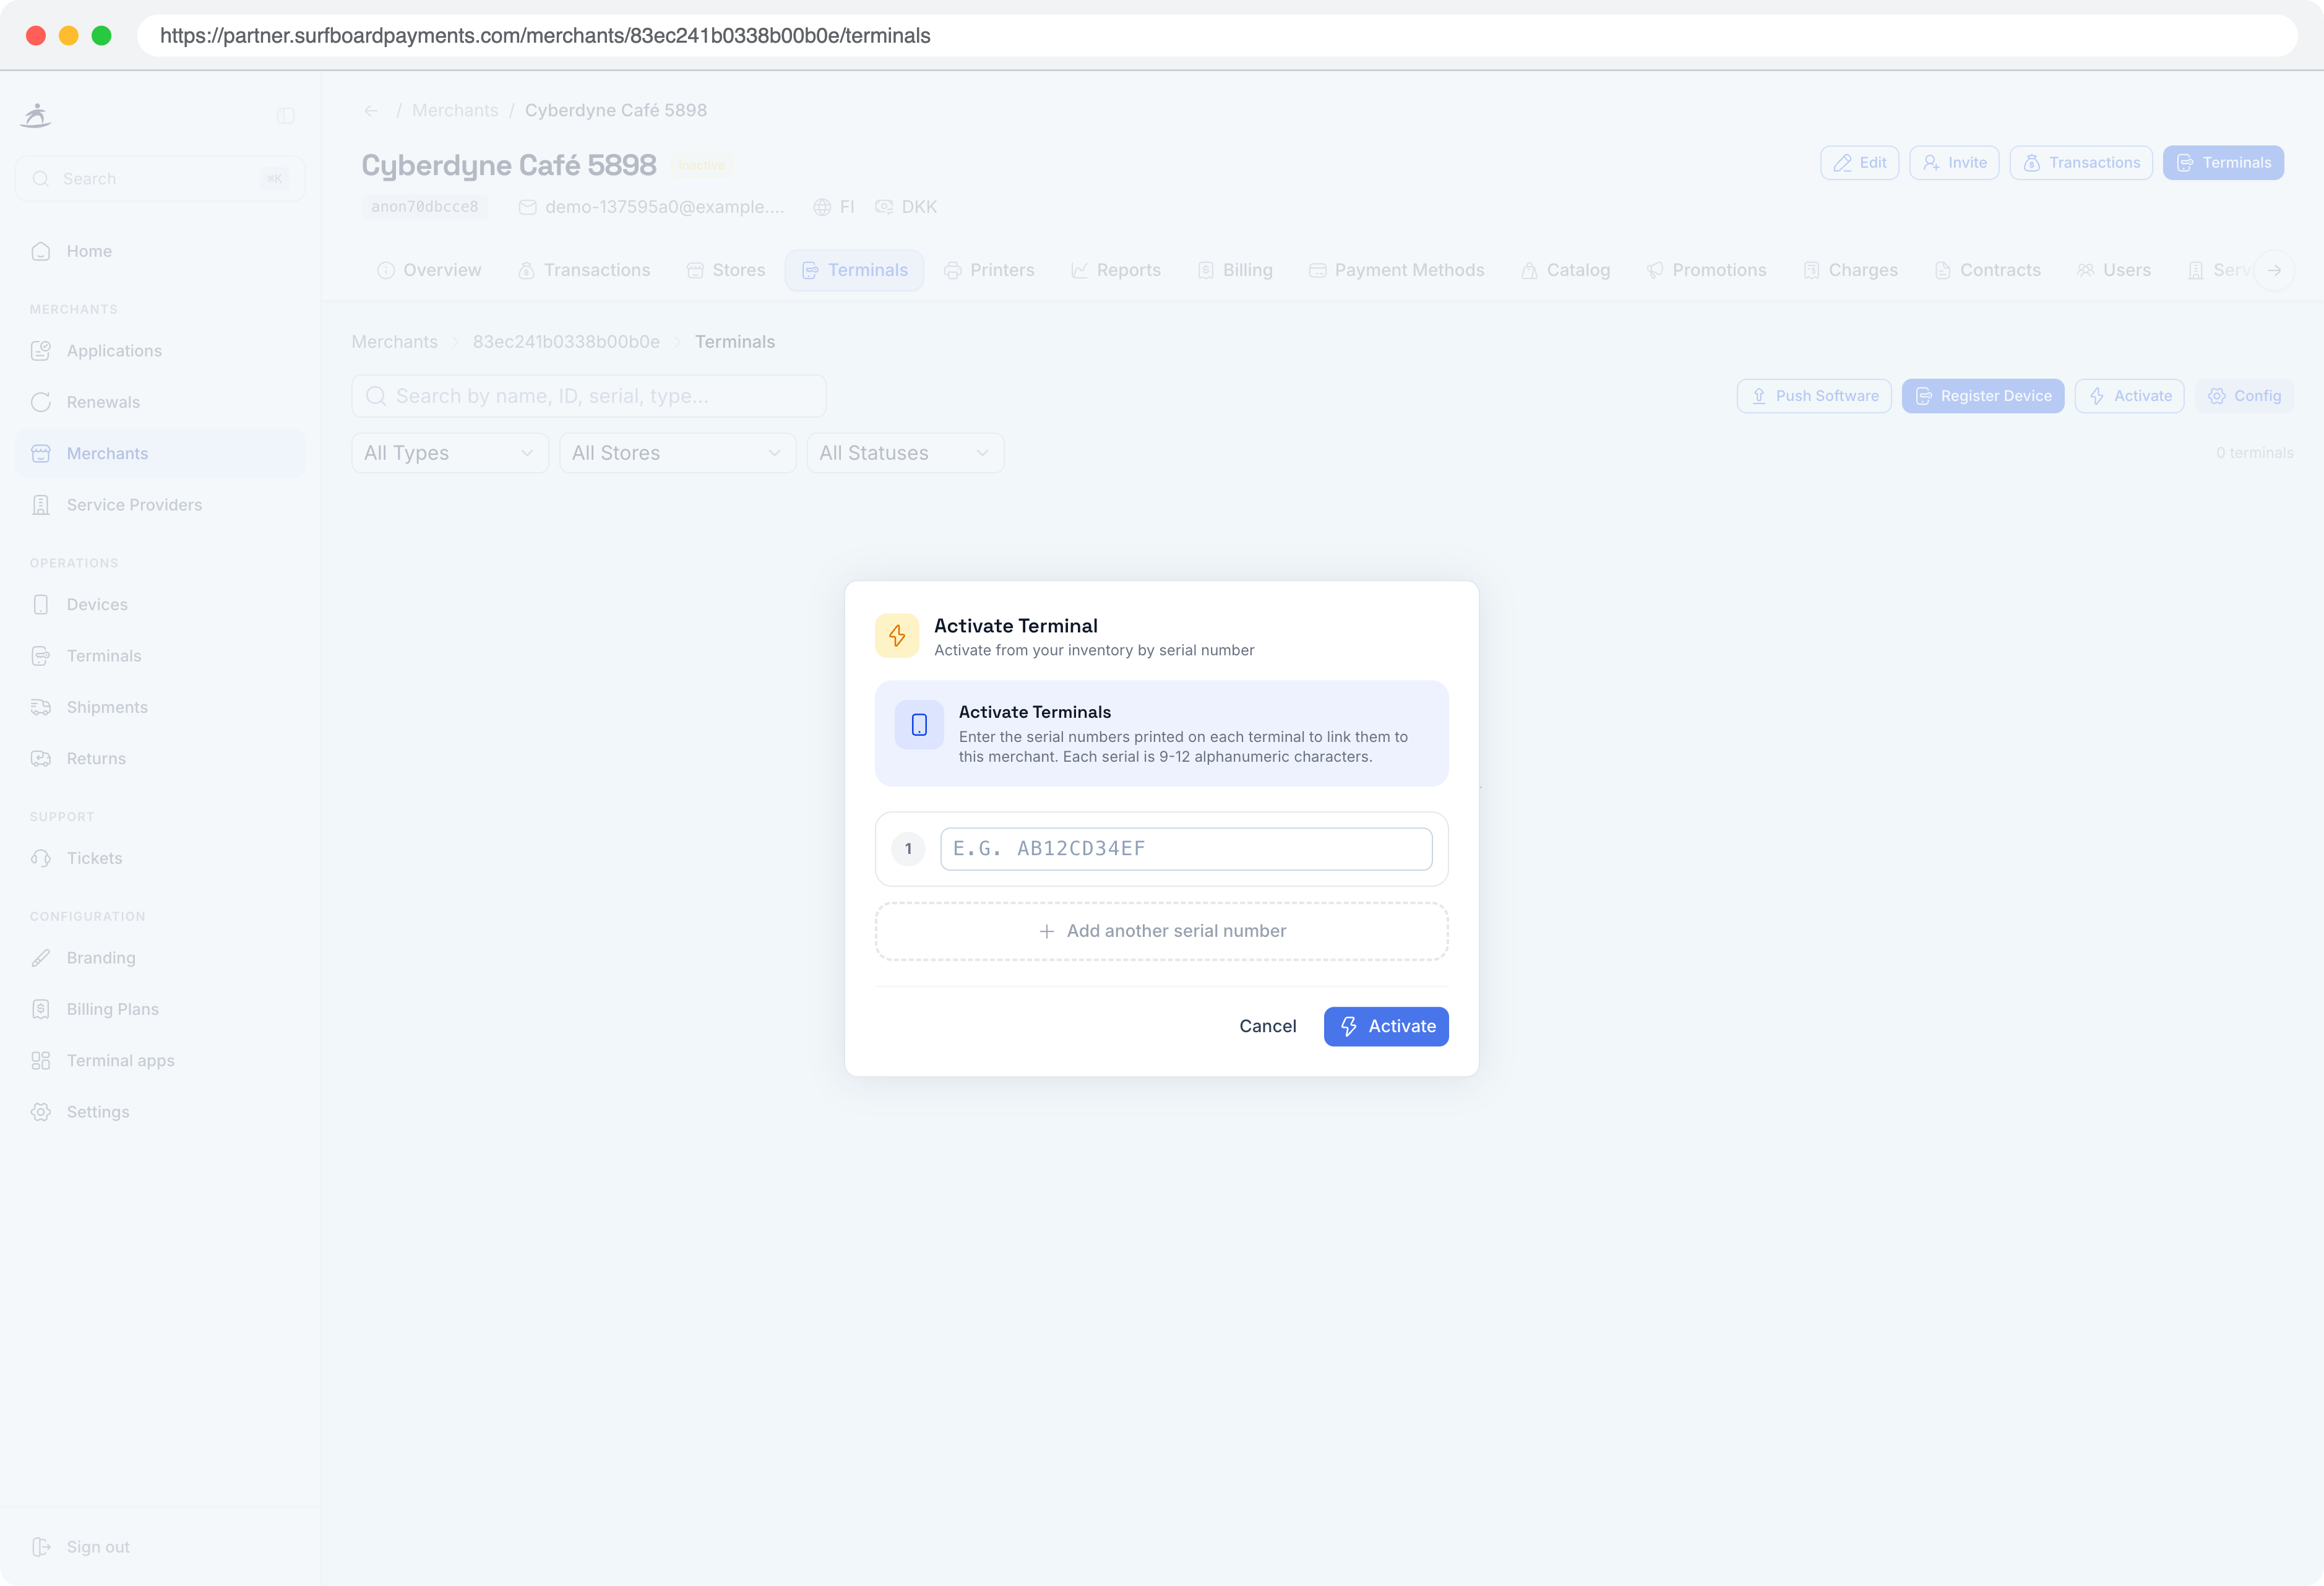
- Click Merchants in the left sidebar and select the merchant you want to activate the terminal for.
- Click the Terminals button at the top, then click Activate.
- In the pop-up, enter the terminal serial number (found on the sticker on the back of the device) and click Activate.
- To activate multiple terminals at once, click the + button in the pop-up before confirming.
The terminal is now linked to the merchant and moves to the Activated state.
Method B — From your stock
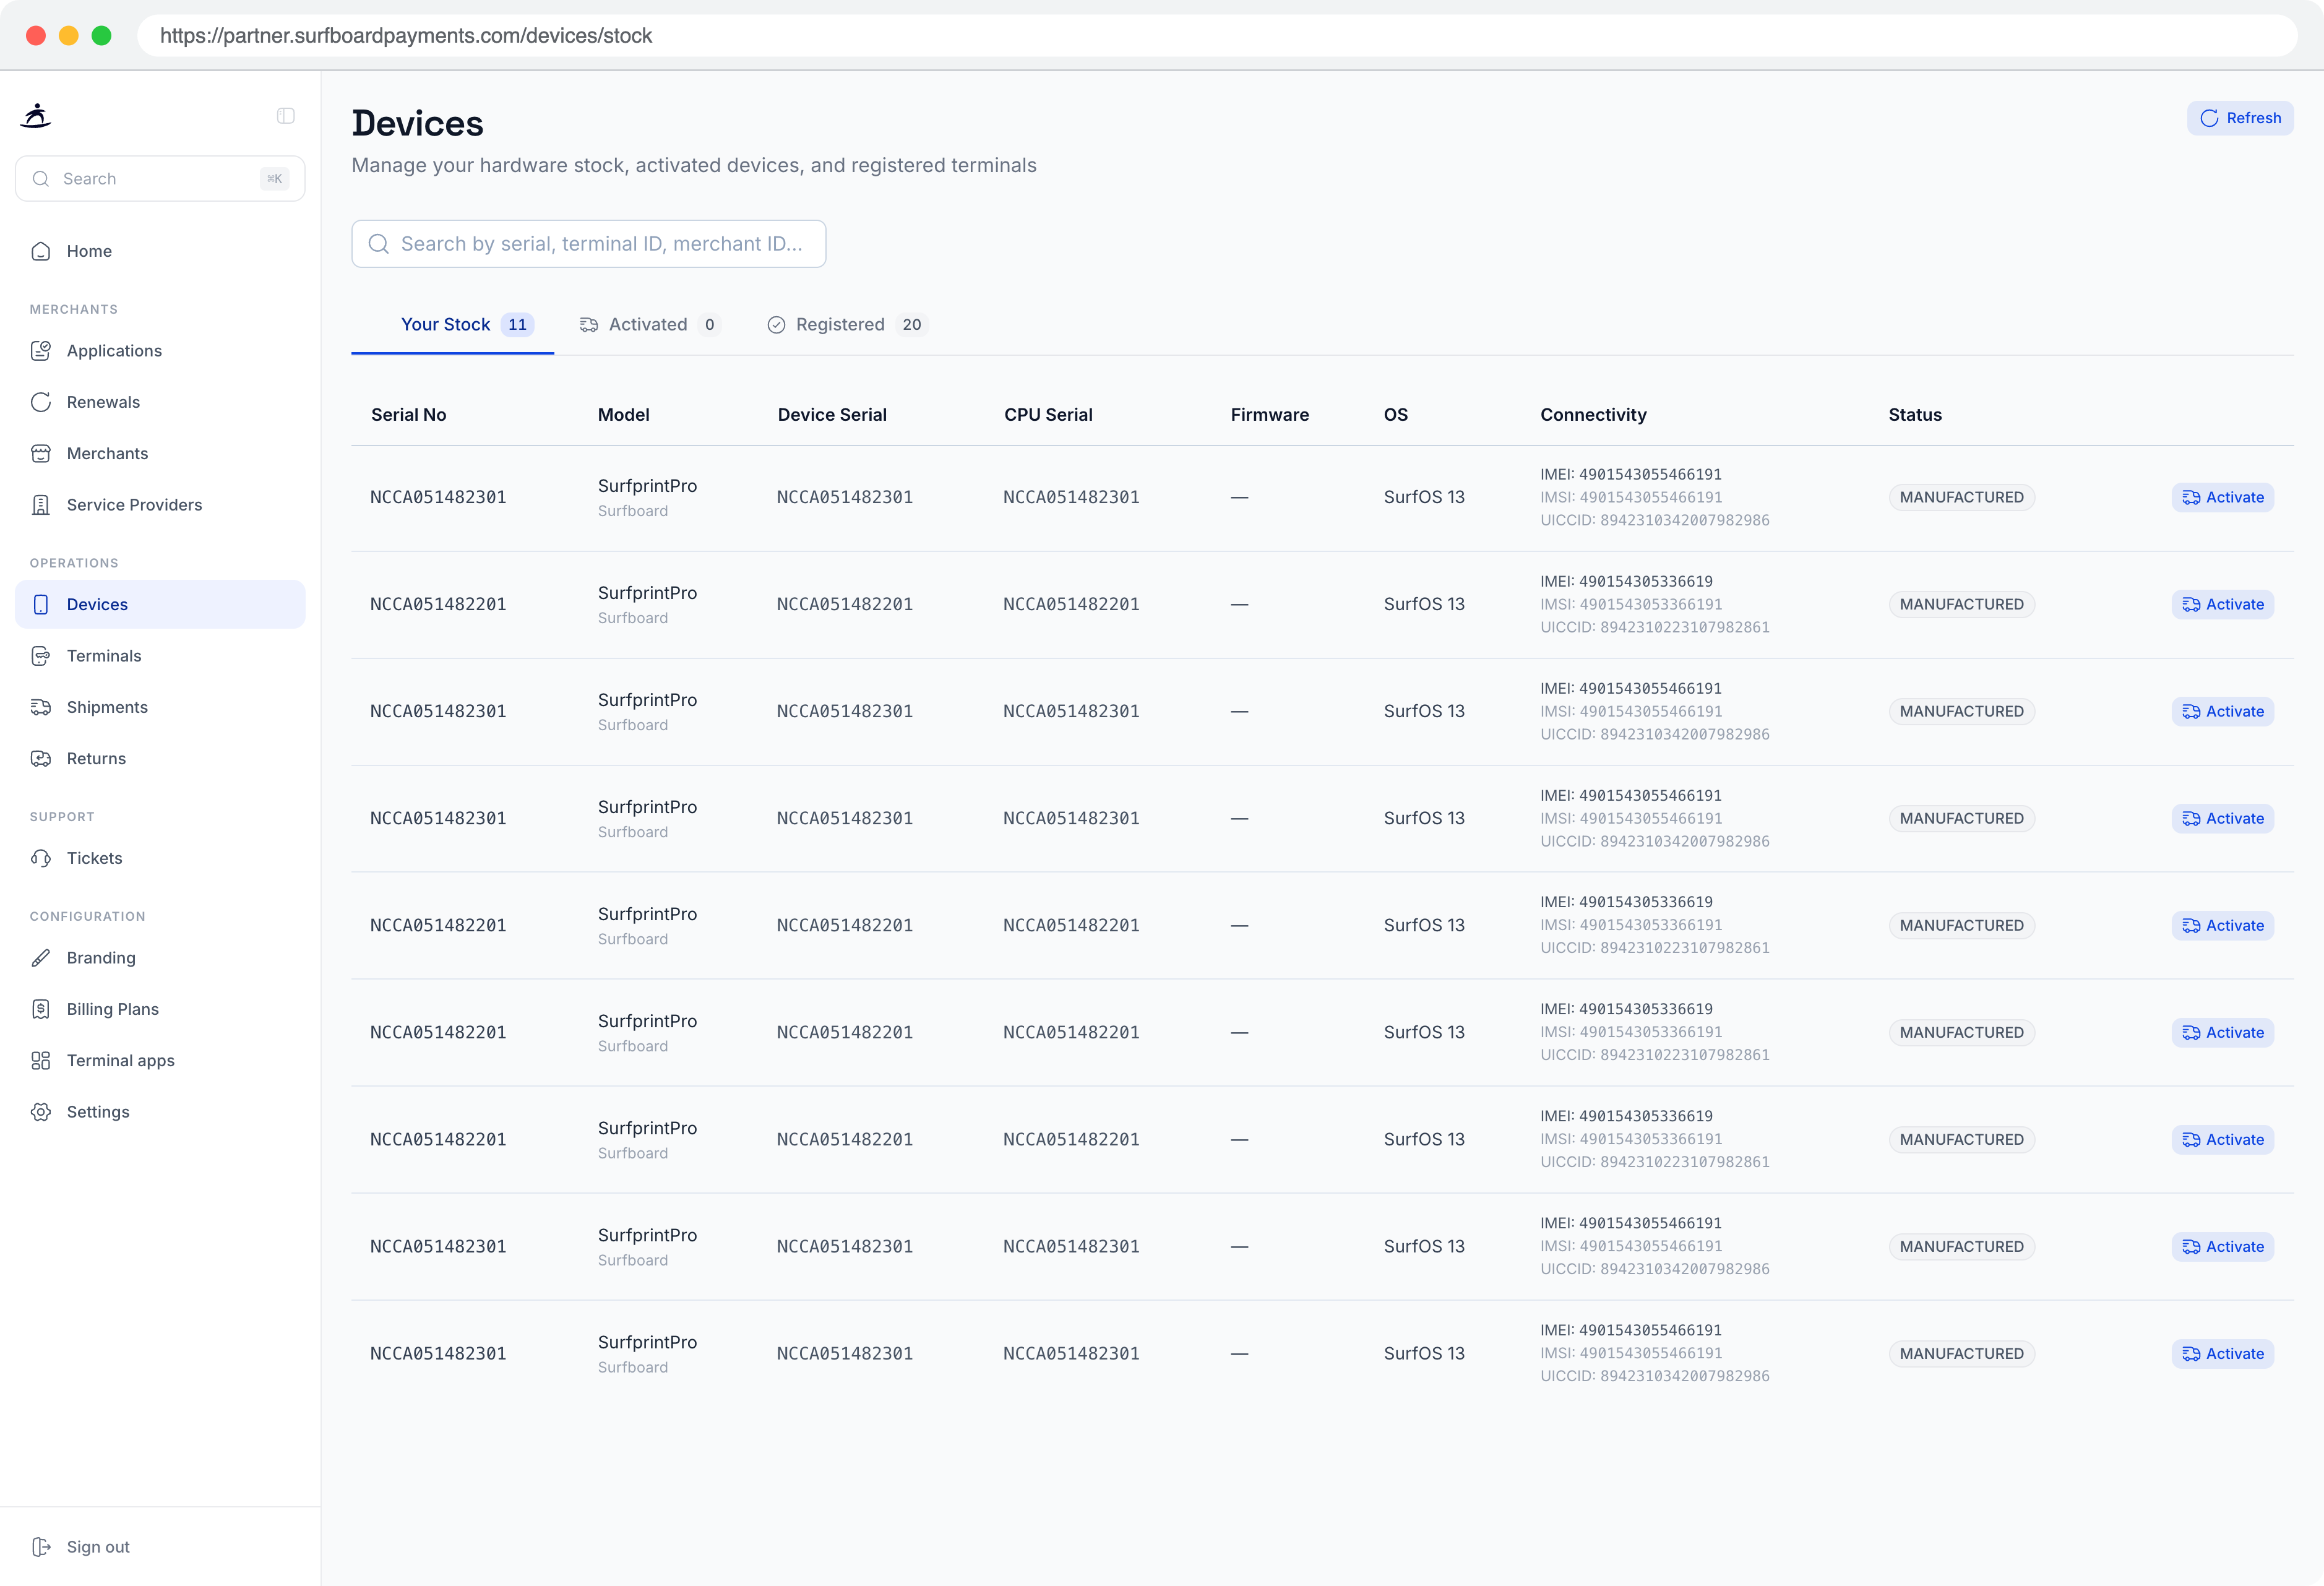
- Click Devices in the left sidebar, then open Your Stock.
- Click Ship on the terminal you want to send to a merchant.
- Search for the merchant’s name and click Ship Device — the terminal is activated.
- To activate multiple terminals at once, click the + button in the pop-up before confirming.
Registering a Terminal
Registering moves an activated terminal to the Registered state, making it live and ready to take payments. Either the partner or the merchant can register the device.
- Click the Activated tab (next to Your Stock) to see the list of activated devices.
- Click the three dots next to the terminal and select Register.
When you ship directly to a merchant, you can register the terminal on their behalf, or leave registration for the merchant to complete.
Reassigning a terminal to another merchant
To move a device to a different merchant:
- Click the three dots under the Activated tab and select Reassign Merchant, or
- Open the Registered tab and select Reassign Merchant.
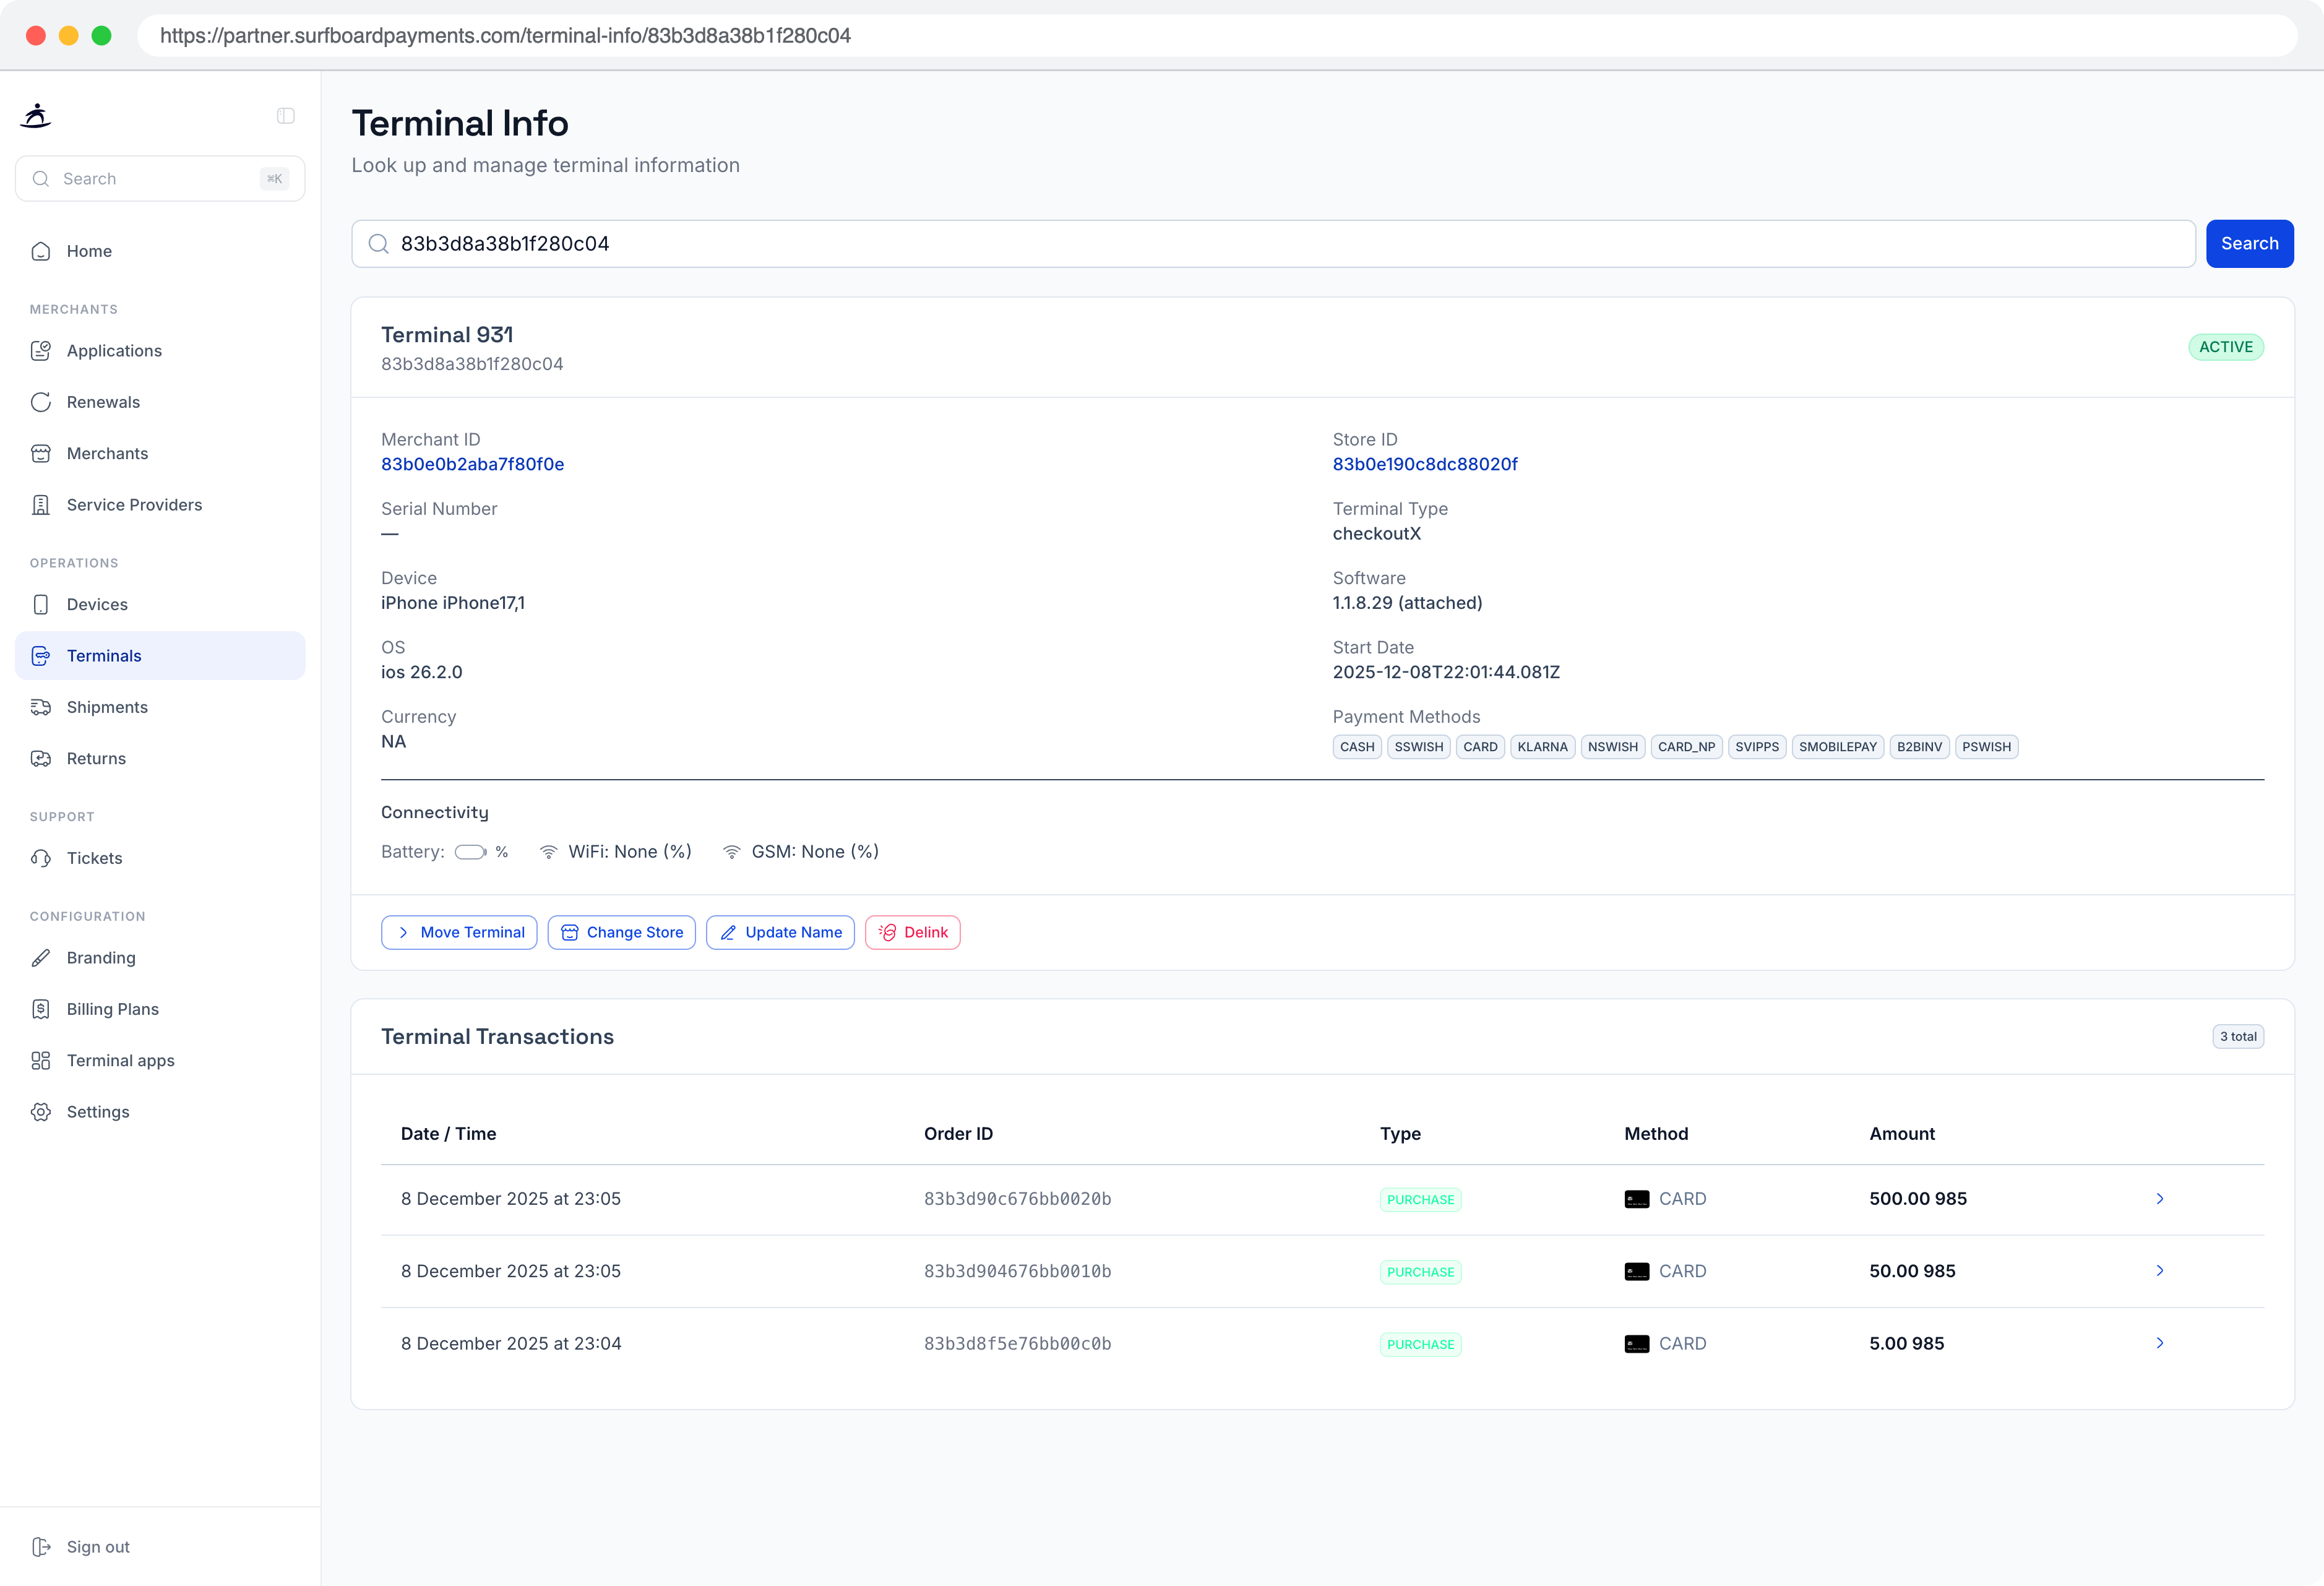
Terminal Lookup
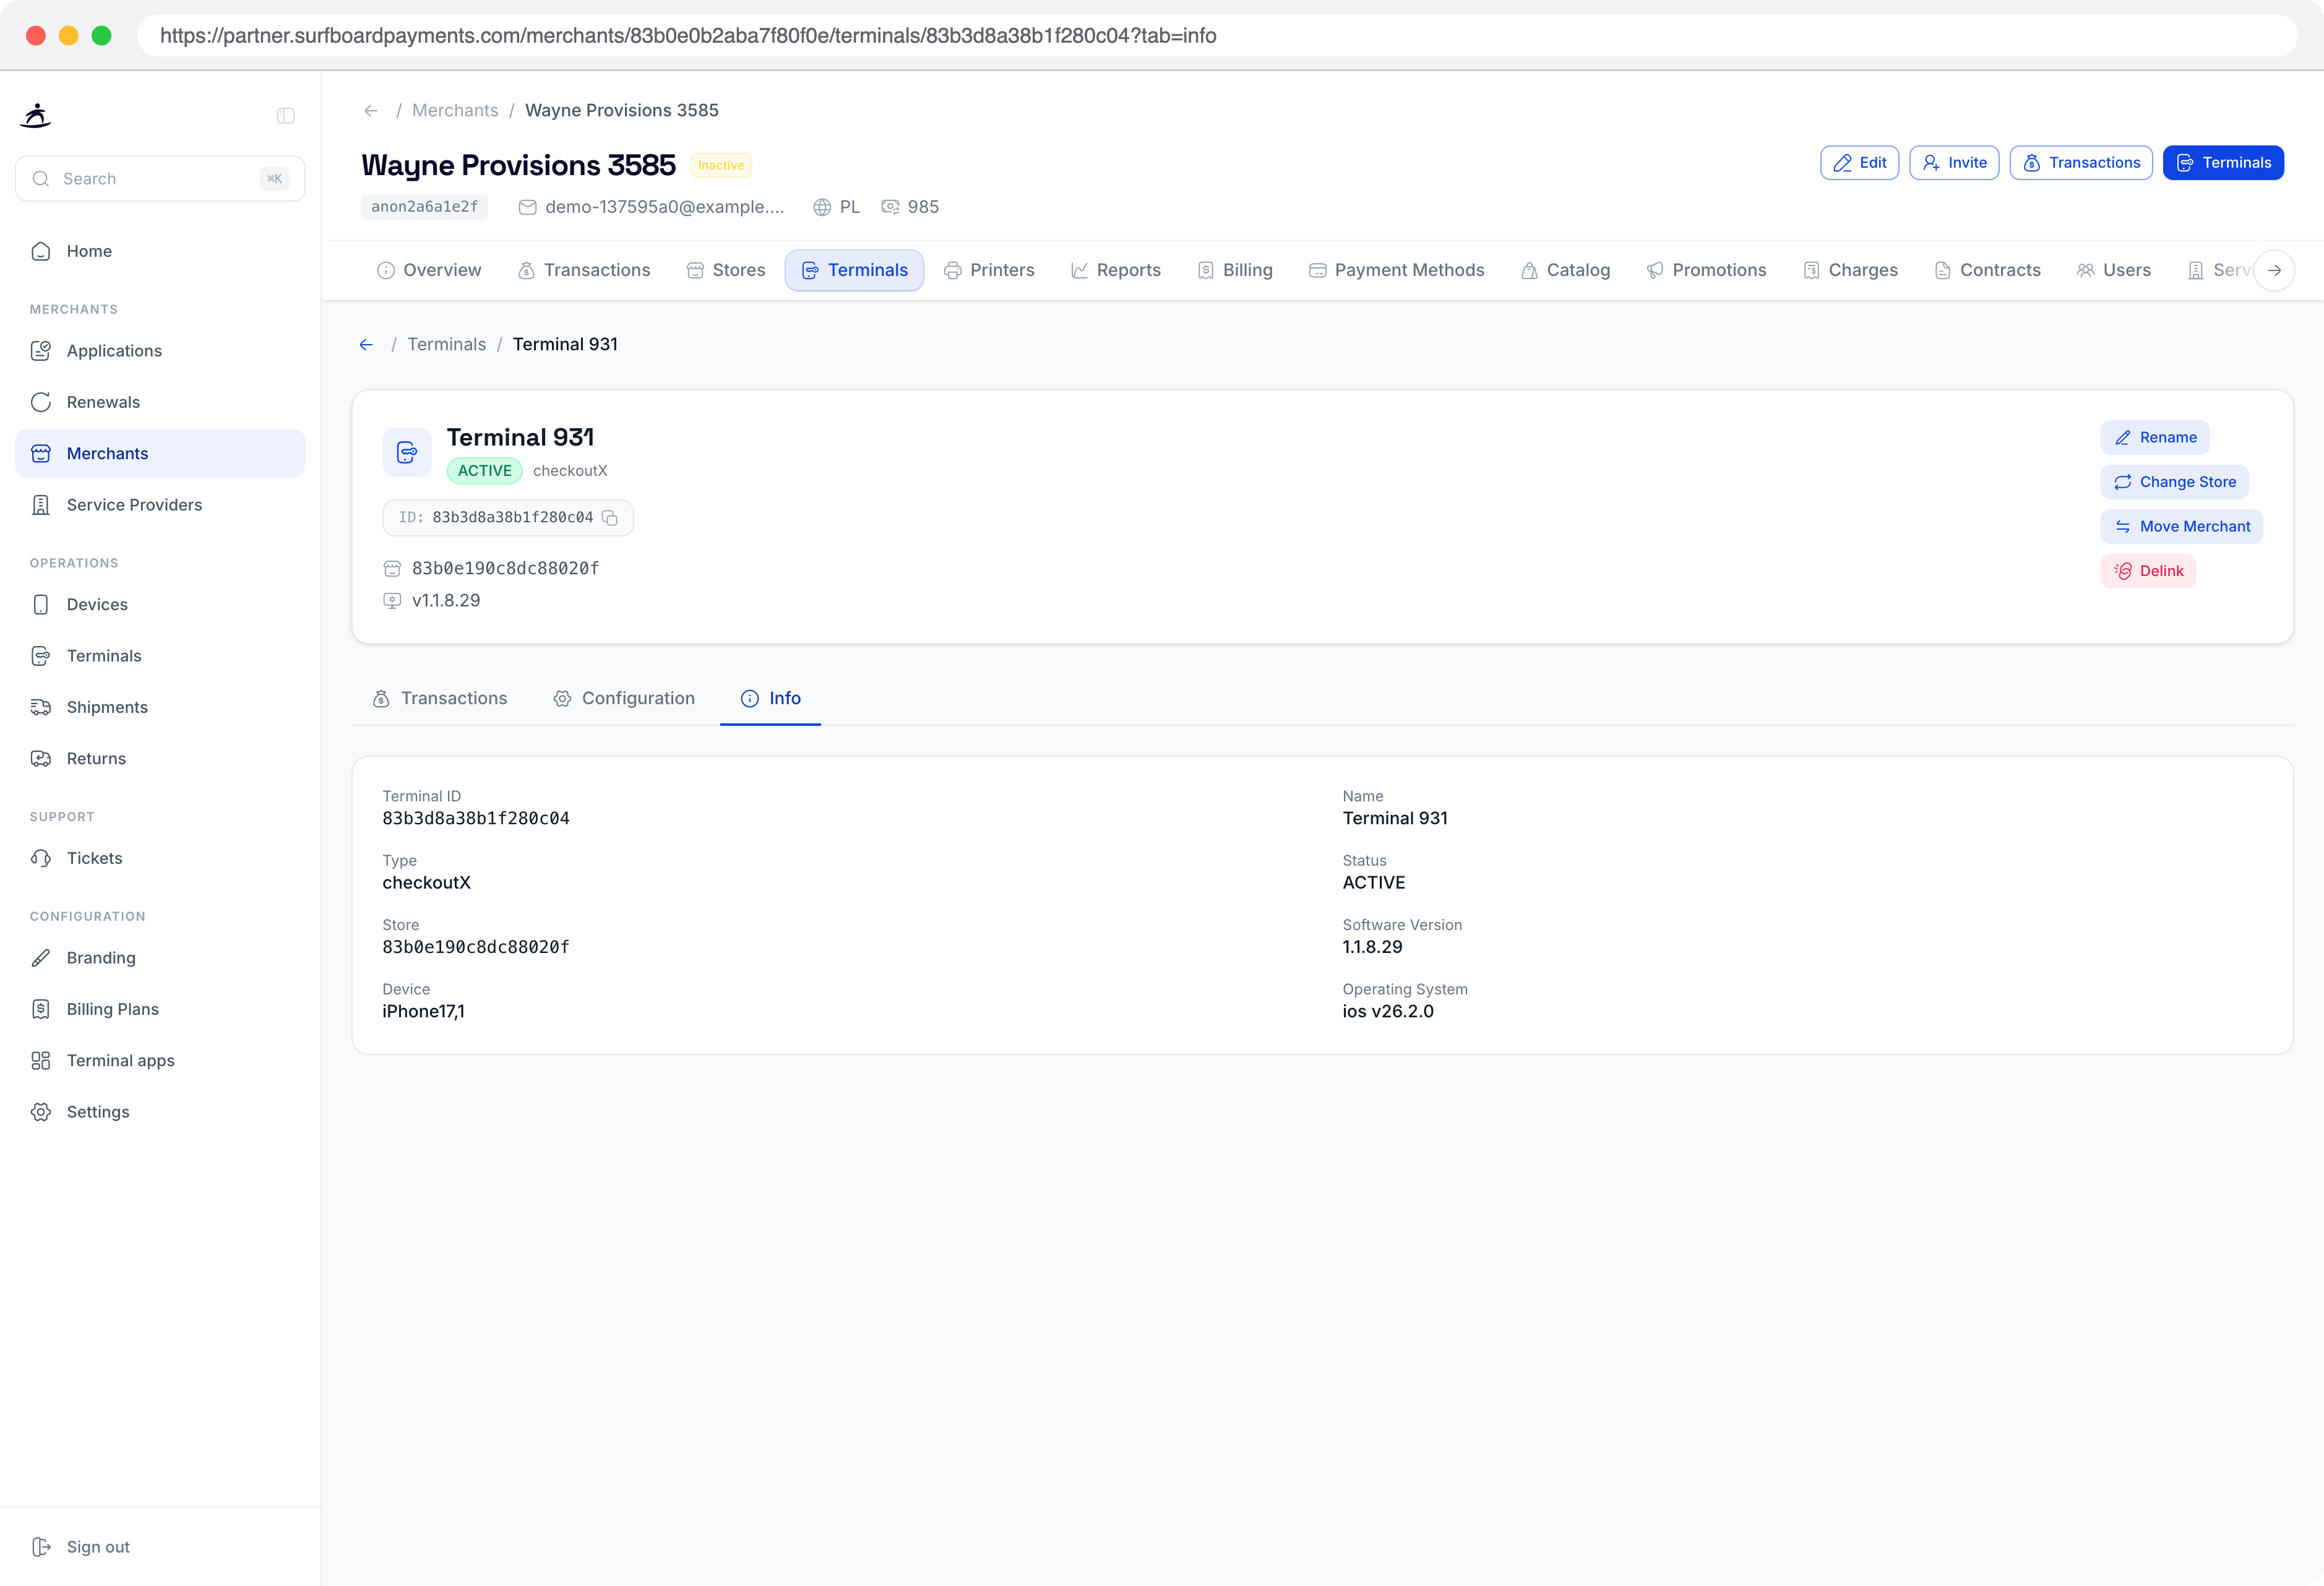
Enter a terminal ID in the search bar and click Search to look up any terminal in your portfolio. The lookup returns:
- Terminal ID and serial number
- Assigned merchant and store
- Terminal status (Active, Inactive, etc.)
- Current software version
- Last activity timestamp
Managing Terminals Per Merchant
For more detailed terminal management, navigate to a specific merchant’s Terminals tab. There you can:
View Terminals
See all terminals assigned to a merchant, including:
- Terminal ID and serial number
- Store assignment
- Terminal type (physical device, SoftPOS, online terminal, printer)
- Current status
- Software version
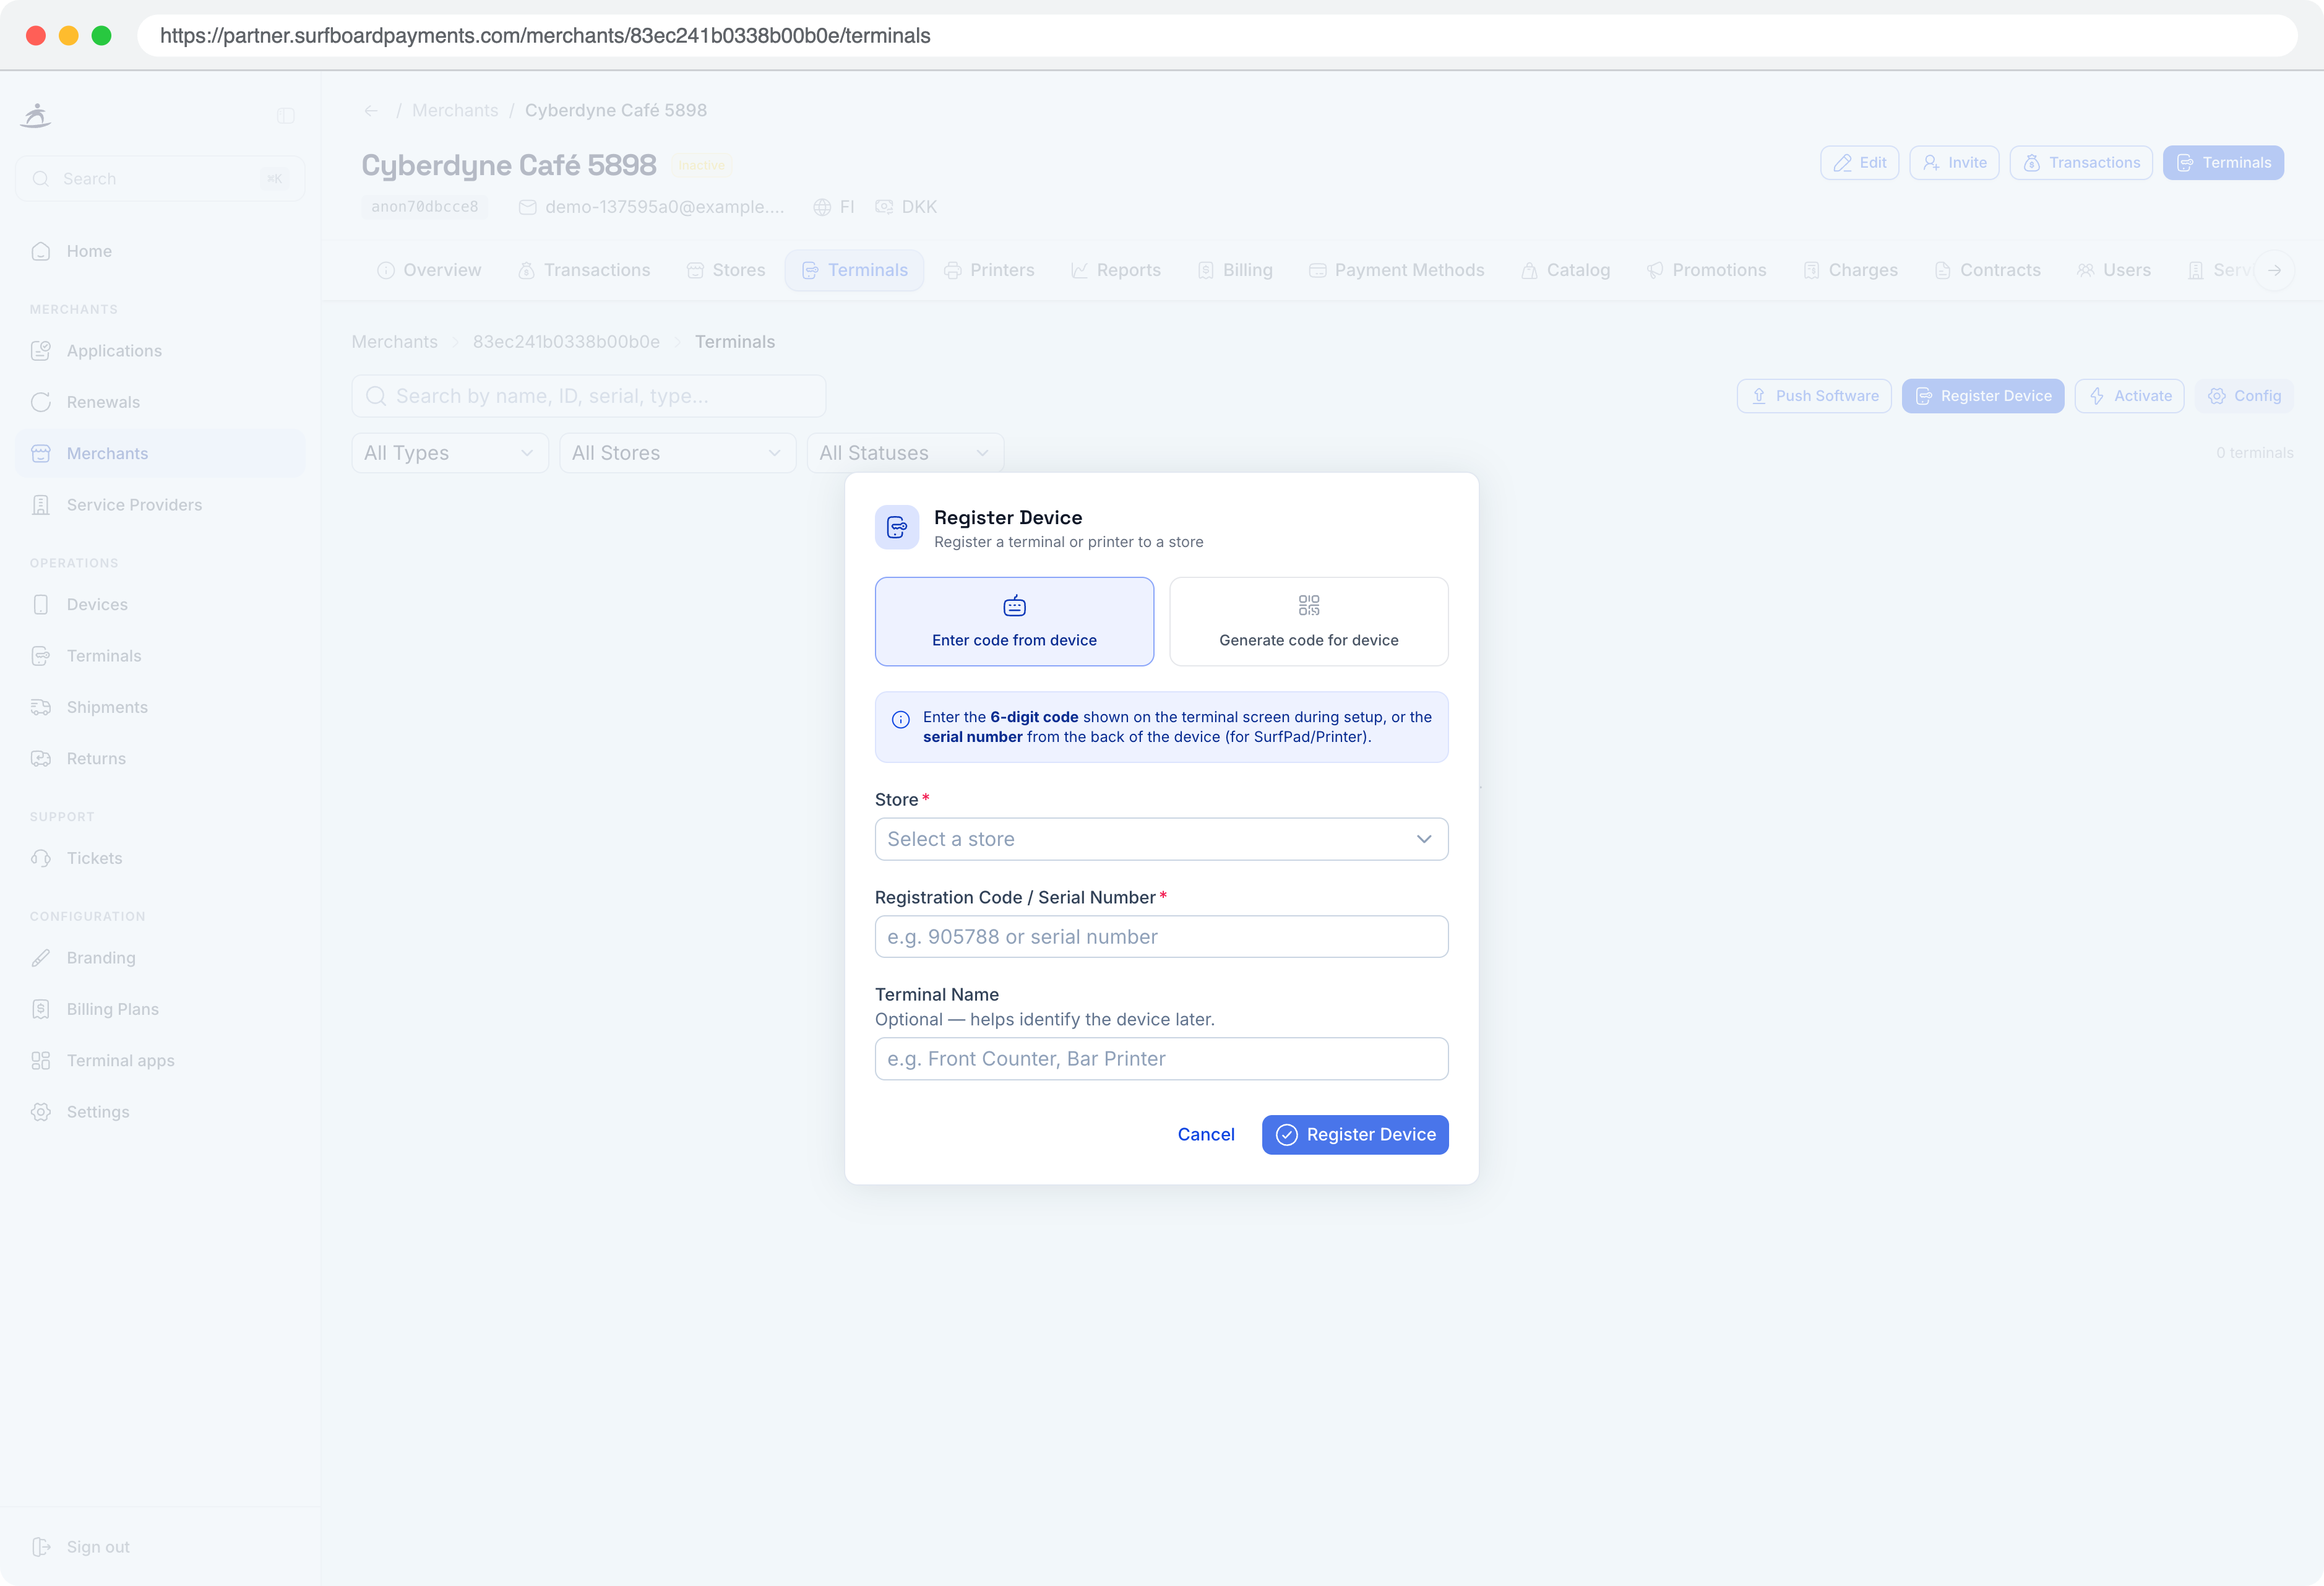
Register a New Device
To register a physical payment terminal:
- Go to the merchant’s Terminals tab
- Click Register Device
- Select the target store
- Enter the device serial number
- The terminal will be linked to the merchant and store
Register an Online Terminal
For e-commerce or virtual terminals:
- Click Register Online Terminal
- Select the target store
- Configure the terminal settings
- The online terminal will be created and ready for use
Move Terminals Between Stores
If a merchant needs to reassign a terminal to a different store:
- Select the terminal
- Choose Change Store
- Select the new store from the dropdown
- Confirm the move
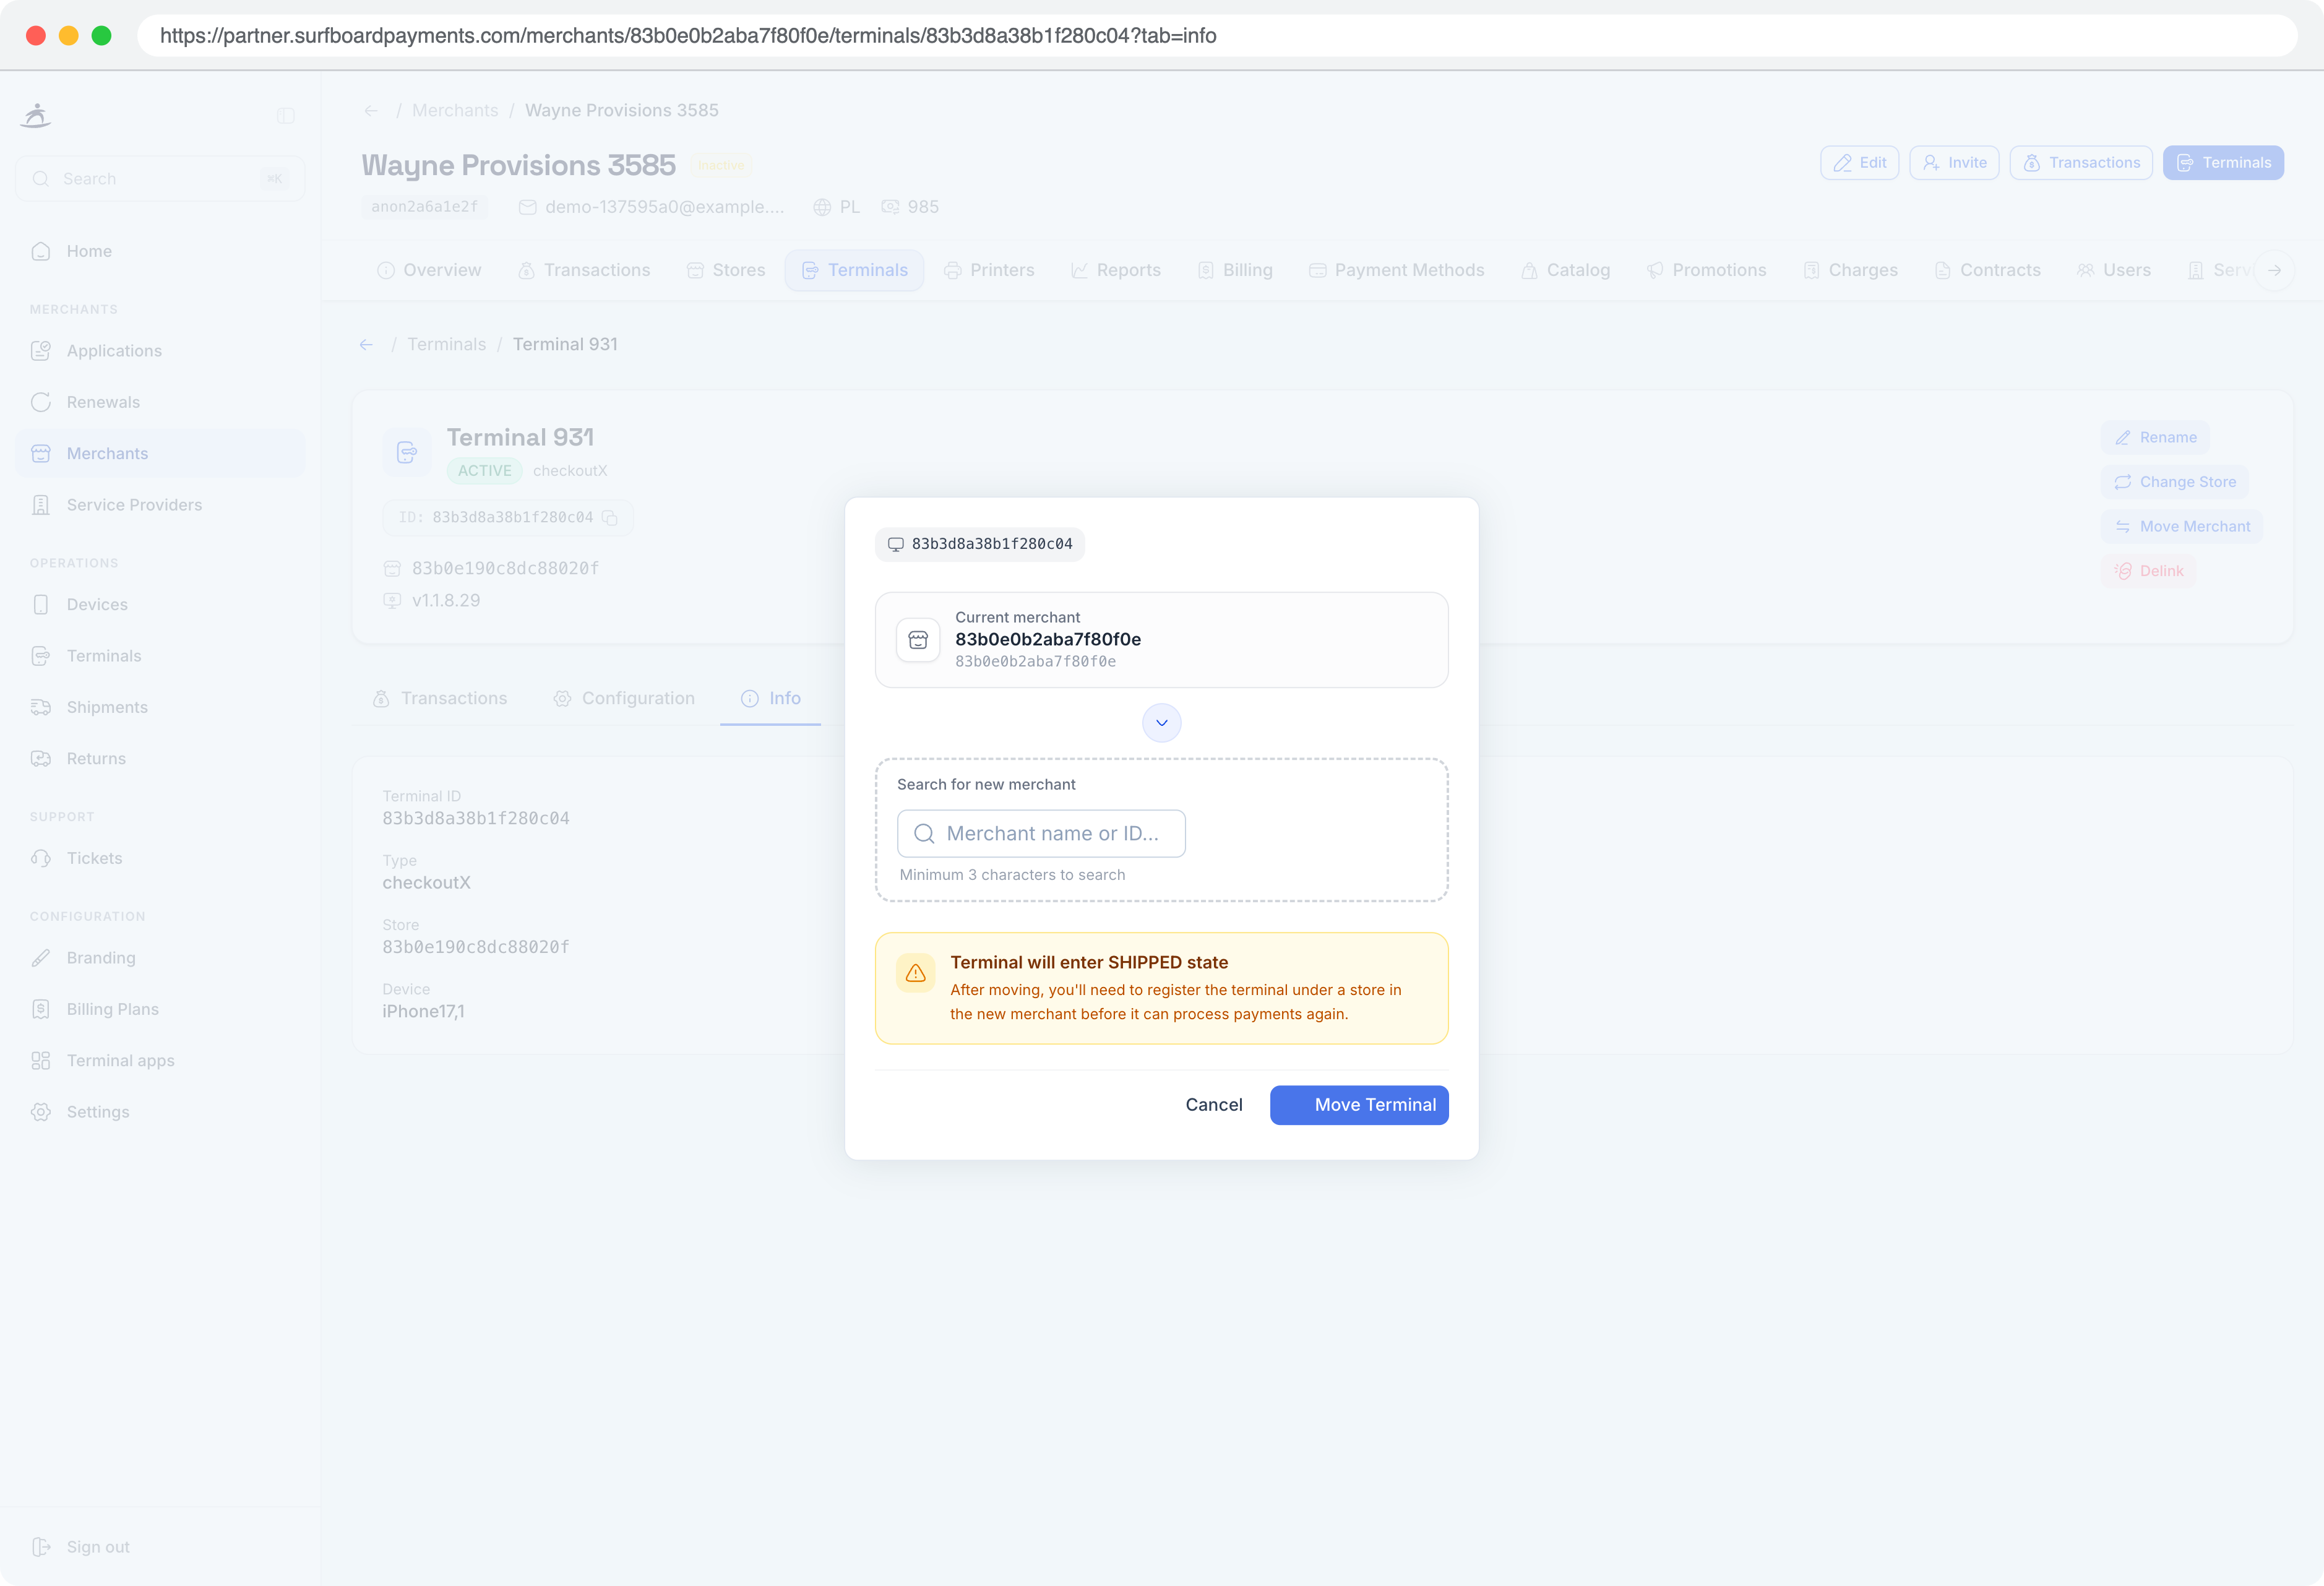
Move Terminals Between Merchants
Partners can move terminals between merchants within their portfolio:
- Select the terminal
- Choose Move Terminal
- Enter the target merchant ID
- Confirm the transfer
Delink a Terminal
To remove a terminal from a merchant:
- Select the terminal
- Choose Delink Terminal
- Confirm the deactivation
The terminal will be unlinked from the store and merchant.
Terminal Configuration
Terminals can be configured at three levels, with inheritance from broader to more specific:
Merchant Level
Set default configuration for all terminals under a merchant. Settings cascade down to all stores and terminals unless overridden.
Store Level
Override merchant-level configuration for a specific store. All terminals in the store inherit these settings unless individually overridden.
Terminal Level
Set configuration for a specific terminal. These settings take the highest priority.
Configuration Options
Terminal configurations can include:
- Receipt settings
- Tip configuration
- Display preferences
- Payment method enablement
- Custom branding elements
- Open POS on Reboot — when enabled (the default), the POS app launches automatically every time the terminal restarts
Tips Configuration
Tipping can be configured at multiple levels, with more specific levels overriding broader ones:
- Merchant level — in the merchant’s Configuration tab, select Tips to apply tip settings across all of that merchant’s terminals.
- Store level — open a store from the Stores tab and use its Configuration button to set tips for that store.
- Terminal level — configure tips individually per terminal via the terminal’s own Configuration tab.
All levels offer the same settings:
| Setting | Description |
|---|---|
| Enable Tips | Toggle tip functionality on or off. |
| Display Format | Show tip options as a Percentage or a fixed Amount. |
| Preset Tip Levels | Set up to three preset tip options (e.g. 10%, 20%, 25%) that customers can select at checkout. |
| Allow Custom Amount | Let customers enter their own tip value. A Default Custom Amount can also be pre-set. |
| Show Calculated Amount | Optionally display the calculated tip value beneath each preset option. |
Once configured, tap Save Tip Config to apply the changes.
Pushing Updates
Push Latest Configuration
Send the most recent configuration to a terminal. Useful after making changes to ensure the terminal picks up the new settings immediately.
Push Latest Software
Trigger a software update on a specific terminal. The terminal will download and install the latest version on its next check-in.
Terminal Naming
You can update a terminal’s display name to make it easier to identify in reports and lists. Click on the terminal and edit its name.